
You have a cool microscope and you are enjoying it but you’d like to
For all these reasons you want be able to connect your microscope to your computer so you can see enjoy images and smooth video.
Here’s how to do it.
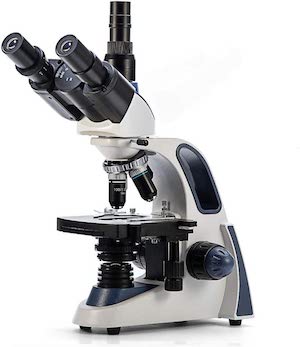
We recommend getting a trinocular microscope. A bit more expensive but well worth it. For this writeup we used the SW380T. A popular medium end consumer microscope.
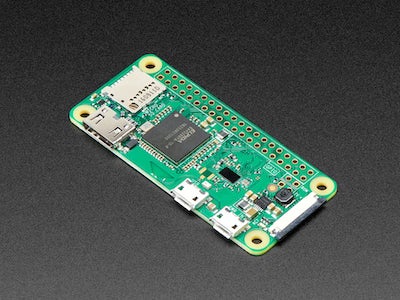
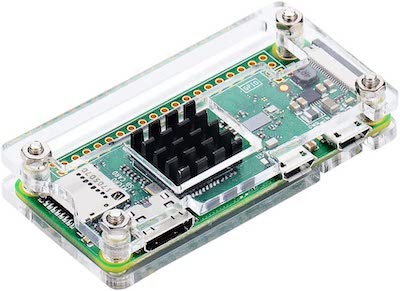
If you don’t already have one you should get the Raspberry Pi Zero W. This is the small and wireless version. At the time of this writing there are supply issues with Adafruit. So if they still don’t have one - check Amazon. You’ll need a micro SD card as well.
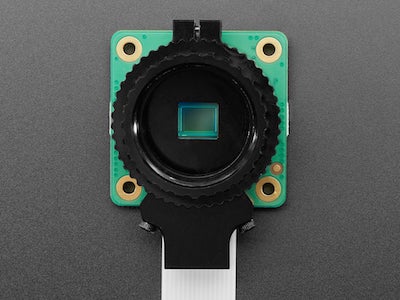
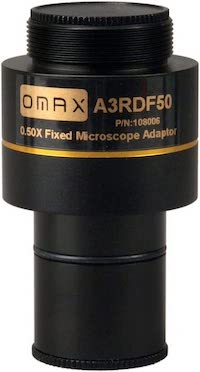
This will help ensure you see more of the image coming from the objective lens.
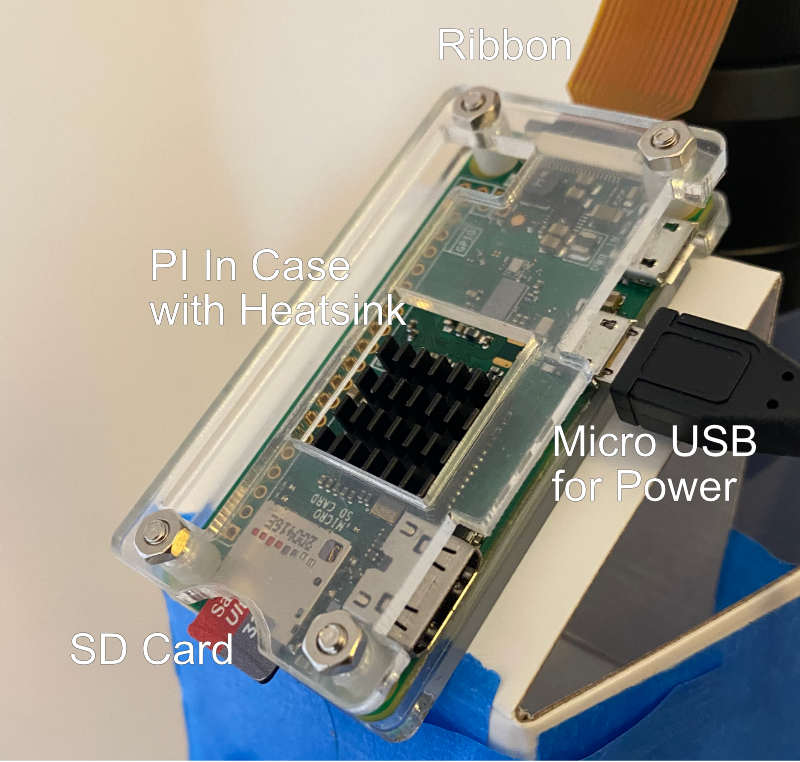
This is to connect your Pi to the Camera. If you have a regular PI - you wont need this.

You don’t strictly need this but you do need a case for your Pi to keep it from accidentally shorting on a metal body microscope if thats what you have. This specific one has a few more things than you need but it does have a heatsink is nice to have for longer viewing sessions and it has a micro USB cable with switch which is nice to permanently mount on your final setup.
The Pi related parts should cost about $130 dollars.
Install the basic Pi OS on the micro SD card. Use the Raspberry Pi Imager to do this. https://www.raspberrypi.com/software/
Plug the SD card into the Micro SD card.
Connect the Pi to your computer with a micro SD cable.
Connect to the Pi using SSH. Use these instructions if you are not familiar
Get your Pi connected to your WiFi. Here is how you do that.
In the home folder /home/pi create a file called stream.py
Paste in code found in section 4.10 from here
This is the web server that will pull the data from the camera and make it available on your local home wireless network.
We changed the line of code with 640x480 to:
with picamera.PiCamera( resolution='1920x1080', framerate=24) as camera:
This gives us a bigger image which is what we want. If you have a monitor with lower resolution adjust this value as necessary.
/etc/rc.local
sudo -u pi python3 /home/pi/stream.py &
This will make the python server start automatically when the PI boots up.
And thats it.
now comes the fun part. Getting it all connected. We’ve hacked together our mount with painters tape but you can go wild and make an aesthetically pleasing setup.
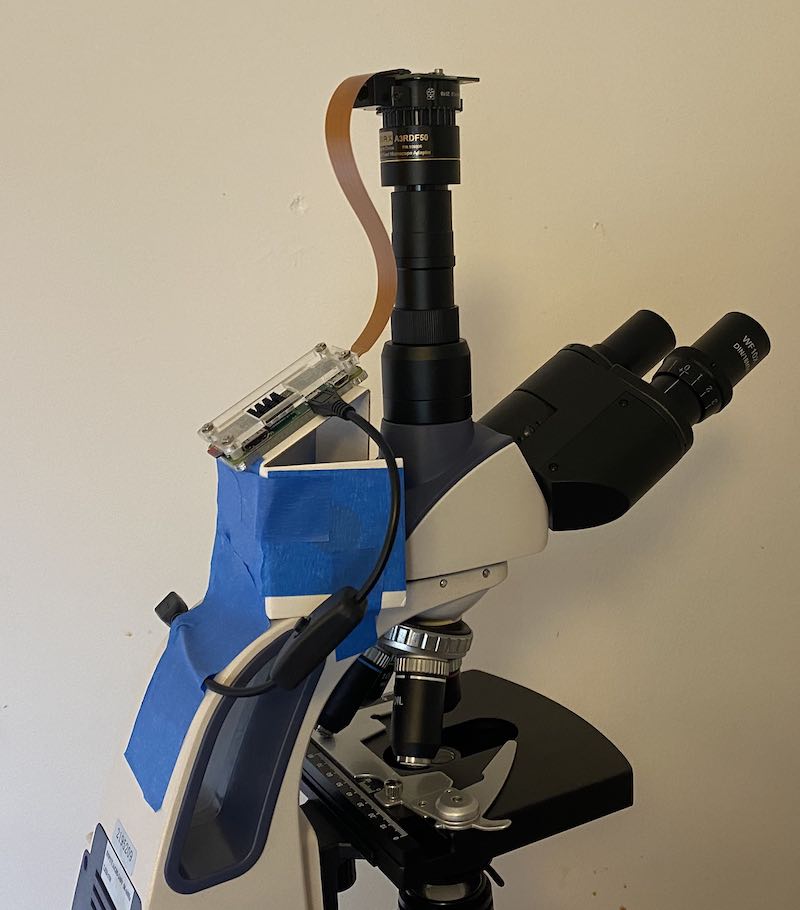
The SW380T comes with all the requisite parts to do this.

If you don’t have a SW380T look how you can connect cameras to their microscope. You should be able to mix the instructions together.
When your PI boots up it will usually be given an IP address by your home router. You can look up the specific IP address. For example with NetGear routers you will look for Attached Devices. Then in the device list look for raspberrypi
The IP address you see associated with the Pi will be the address of the Pi’s web server.
Every time you reboot the Pi the IP address may change but it will usually stay the same. If it does change, which you’ll discover when you cant connect to your pi, simply look it up again on your router software.
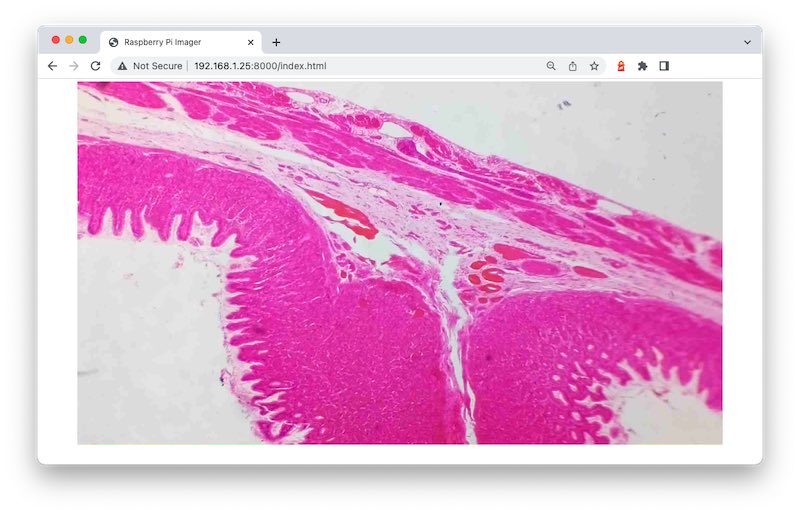
If the IP address of your Pi is 192.168.1.25 then go to
http://192.168.1.25.
IMPORTANT: Make sure it ishttpand nothttps
And you’re done!
When you are done with a microscopy session simply power off your Pi and Microscope and put it away.